Measuring the Length of a Dip Tube: A Guide
Measuring the Length of a Dip Tube: A Guide
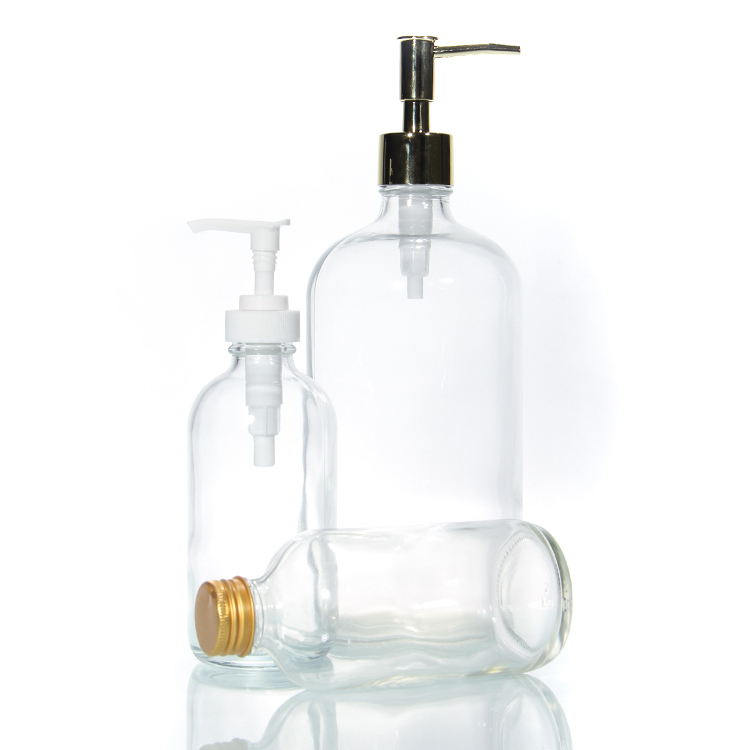
Dip tubes play an essential role in the functionality of lotion pumps, fine mist sprayers, and various dispensing systems. They facilitate the movement of liquid from the base of a container to the pump or sprayer, enabling smooth and effective dispensing. Accurately measuring the length of the dip tube is vital when dealing with plastic bottles, pumps, or sprayers, as it ensures optimal operation and minimizes product waste.
In this comprehensive guide, we will provide a detailed process for measuring dip tube length, discuss potential obstacles you may encounter during this task, and emphasize the significance of proper measurement for the effectiveness of your packaging.
Why is Measuring Dip Tube Length Important?
Properly determining the length of the dip tube is crucial for the effective operation of your dispensing system. Here are some key reasons why this measurement matters:
- Maximizes Efficiency: A precisely measured dip tube guarantees that the exact quantity of product is dispensed, minimizing waste.
- Ensures Compatibility: If the dip tube is not the correct length, it can hinder the proper functioning of the pump or sprayer.
- Avoids Blockages: A dip tube that is either excessively long or short can interfere with liquid flow, leading to clogs or inefficient dispensing.
Common Mistakes When Measuring Dip Tube Length
While measuring dip tubes may seem simple, it often presents challenges. A frequent error individuals make is beginning their measurements at the base of the gasket, which can result in incorrect readings. To achieve the best accuracy, it's essential to measure from the top of the gasket, ensuring that the dip tube fits correctly within the bottle.
Step-by-Step Guide: How to Measure Dip Tube Length
Let’s go through the procedure for measuring the length of your dip tube correctly. Whether you're working with slender dip tubes or need to trim them, this method will guarantee an ideal fit for your lotion pumps, sprayers, and various dispensing systems.
Step 1: Gather Your Tools
Ensure you gather all necessary items before you begin measuring:
- A measuring tape or ruler
- A dip tube
- A pump or sprayer (optional for checking the fit)
Step 2: Position the Dip Tube in the Bottle
For precise measurement, begin by inserting the dip tube into the bottle. Make sure the tip of the dip tube touches the bottom of the bottle. If you're utilizing a fine mist sprayer or lotion pump, connect it to the top to secure the tube during the measurement process.
Step 3: Measure from the Top of the Gasket
Begin your measurement at the upper edge of the gasket that attaches the pump or sprayer to the bottle. This point marks the junction between the tube and the dispensing mechanism, making it crucial for ensuring precision.
Step 4: Record the Measurement
Utilize a ruler or measuring tape to determine the distance from the upper edge of the gasket to the end of the dip tube. This measurement represents the length of your dip tube. To enhance accuracy, verify the measurement again to confirm its precision.
Step 5: Check the Length Against the Bottle Size
With your measurement in hand, check it against the bottle's height. The dip tube should extend to the bottle's base without being overly lengthy. This process allows you to assess whether the tube requires trimming or modification.
Step 6: Cut the Dip Tube
If the dip tube is too long, use a sharp tool to carefully cut it to the desired length. Make sure you cut straight and avoid leaving jagged edges, which could affect the dispensing function.
Step 7: Test the Fit
To finish up, connect the pump or sprayer to the bottle's opening and check the dip tube. Make sure the liquid moves freely and that the tube extends to the bottom of the bottle. If all functions correctly, you have successfully completed the task!
Accurately measuring your dip tube length is essential for optimal dispensing and product efficiency. If you need help creating custom packaging for your product, our expert design and engineering team at IDEA Bottles can assist you with everything from technical drawings to selecting the perfect sprayers and pumps. Visit our Design and Engineering page for more details.